Using the Photo Dropper Plugin to Find Free Images
/Photo Dropper is a Wordpress plugin that makes it easy for you to search Flickr for photos with Creative Commons License and insert appropriate images into your blog. You can read more about the plugin at the WordPress.org Plugin Repository. *Obviously, this will only work self-hosted blogs using WordPress not on Blogger or WordPress.com blogs.
Install the Plugin
You can install the plugin by logging into your WordPress control panel and click on “Plugins -> Add New” on the left menu.
On the next screen, search for Photo Dropper. When you find it, click “Install Now”:
You may be asked for your FTP information in order to perform the installation, if so enter it in.
Next you’ll see a screen that indicates your plugin installation has begun.
When the installation is complete, click “Activate Plugin”:
Now the Photo Dropper plugin is installed and ready to use.
How to use Photo Dropper
Now you can create a new post and use Photo Dropper. When you create a new post, you can see the Photo Dropper icon as one of your options at the top of the post.
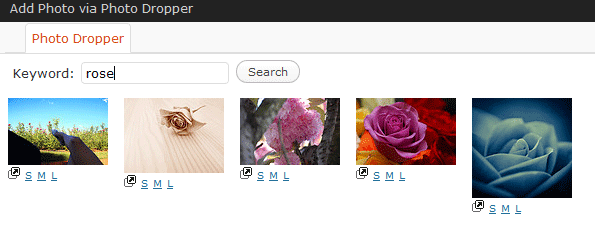
Click the icon to search for images. In this example, we are searching for “red rose” and get the following results:
You can choose the image that you’d like, choose small (S), medium (M) or large (L) size and it will insert the appropriate attribution into your blog post.
Confirm Licensing Details
While ongoing use of Photo Dropper seems to indicate it’s pretty accurate in using appropriate images for commercial websites, you should always confirm the license allows you to use the photo for your website.
You can see the image information by clicking the arrow icon in the bottom left before you add the image:
This brings you to the image page and you can find the license information on the right menu:
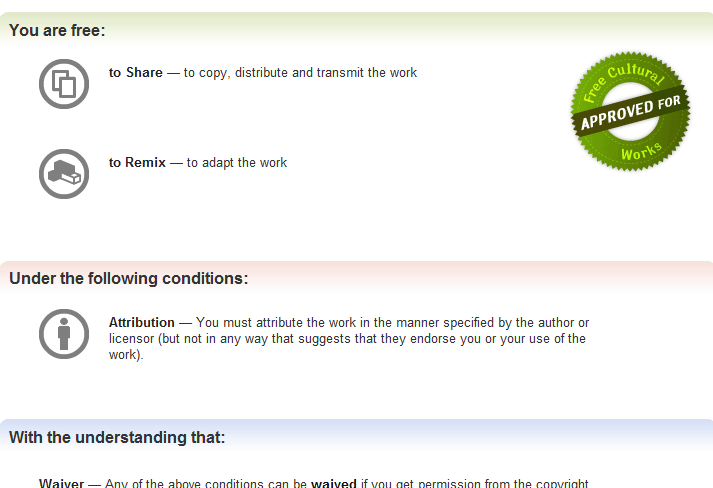
Click the “Some rights reserved” and you’ll see the details about using the image. Make sure to read them completely.
I hope this tutorial will help you find free images you can use legally on your blog. For a recap on other posts in this series, check out:
- Understanding Creative Commons License and Images
- Finding Free Images for Your Blog
- Google Images & Flickr
Next up is using Zemanta.


